
There are many reasons why you might choose to paint a projection wall instead of buying and installing a screen, but it usually comes down to budget.
With some of the best projection screens costing thousands of dollars, we discuss whether projector paint for walls can provide an equally high-standard viewing experience for a fraction of the cost.
If it is possible to project movies onto hanging bed sheets, then a painted wall has to be achievable. Some of the best-quality projector paints can, if properly applied, rival high-end projection screens.
Some high-end projection screens cost hundreds, if not thousands of dollars.
Painting an effective projector screen comes in at around $100-$200 for an area measuring 90ft², depending on the brand.
Stand-alone screens take time to set up and get into the correct position. It can become time-consuming if you watch with frequent regularity.
Fabric screens often suffer from a ball of light directly in the viewer's field of view. This off-putting occurrence is often due to the nearness of the projector to the screen. Hot-spotting doesn't happen on painted surfaces.
Painted walls create no clutter. They don't need storage space and don't need tidying away.
Paint is also ideal for multiple other surfaces like doors and desks.
You can personalize the shape and size of your screen, no matter how exacting your requirements. Projection screens come in regimented sizes, which makes painting very beneficial for unusually shaped spaces. Paint comes with no size limitations.
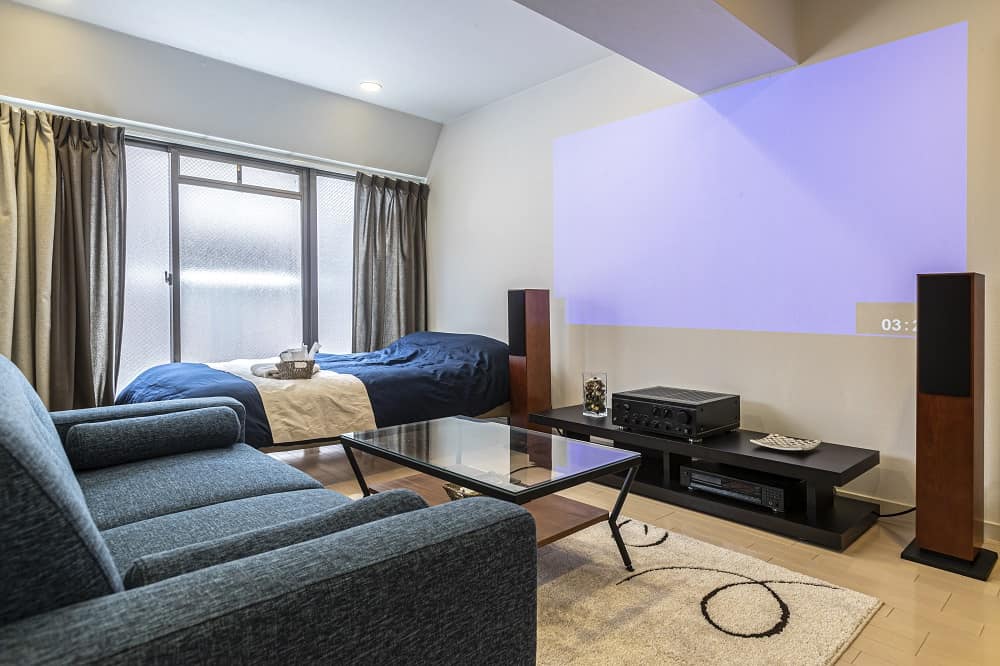
A painted wall blends in effortlessly with décor much better than a large screen. A gray wall looks particularly effective as a feature wall, blended against the remaining three.
Projecting onto a painted wall is possible, but results in washed out and dull images. Screen paint possesses unique reflective qualities to ensure ambient light has little effect on the picture quality.
The specialist coating it employs eliminates hot spots, the bane of many beleaguered projectionists.
A hot spot is one area that is much brighter than the rest of the screen, resembling a ball of light. It is actually a reflection from the projection lens, usually because it is too near to the screen or at the wrong angle.
Prevention is possible by using expensive retro-reflection fabrics, or if you're looking for a more affordable method, projection screen paint works just as well.
Standard projection screens usually come in gray, white, white with a silver coating, and the latest innovation, diamond black.
Projection surface paint is currently available in white and various shades of gray.
The easiest way of choosing the color of your screen is to follow this general guideline:
White paint works best in a home theater that has no ambient light. In this situation, images are projected with unrivaled accuracy. Colors maintain their vibrancy and darker colors remain rich.
If you intend to watch a lot of 3D content, white paint is the best option. Designated 3D glasses tend to make the screen darker. On a gray screen, many of the graphics get lost. They will still 'pop' as they should on a white projection surface.
Silver projection surface paint works particularly well for 3D images.
Grey paint is more compatible in rooms when pitch darkness isn't possible. Ambient light from windows and doorways has no detrimental effect on the pictures on a gray screen.
High-resolution home theater paint is available in various shades of gray. Darker shades might result in dull images, lighter shades can behave too much like white paint and encourage the light to reflect.
Mid-shades of gray is the wisest option.
The decision between matte or gloss paint isn't a difficult one.
Gloss paint is far too reflective, and, much like a white screen behaves in a well-lit room, results in poor-quality, faded images.
Matte paint is by far the better option. However, some gray paints tend to give the overall picture a dull finish.
Satin paint is the best of both worlds, in theory. It sits comfortably in the gap between matte and gloss. A small number of users find that some brands still have reflective tendencies, although not as much as gloss paint.
Research thoroughly and read reviews before committing to a particular type of paint.
The surface must be clean, grease-free, and entirely smooth. The slightest blemish will prove detrimental and draw the viewer's eye. Ensure any cracks or holes are filled and sanded down before any painting begins.
Add a coat of primer. It is an absolute necessity when painting absorbent and previously untreated surfaces. It is also recommended when painting over an already painted surface, particularly if it's darker.
Accurately measure your desired screening surface. Simply done by switching the protector on and bringing it into focus before marking the edges, use the highest definition image possible.
As a general rule of thumb, the screen size should be approximately two-thirds of the viewing distance.
Use masking tape to protect the wall around the perimeter of the spraying area.
If you're going to paint the entire wall, protect the side walls with the tape and achieve a crisp and accurate edge.
Applying the paint with a spray gun provides the best results; a roller is the next best option.
Apply in thin coats for an equal, smooth finish; 2 coats is sufficient if using a roller.
Leave to dry for at least 24-hours. Remove the protective tape; it is ready to use.
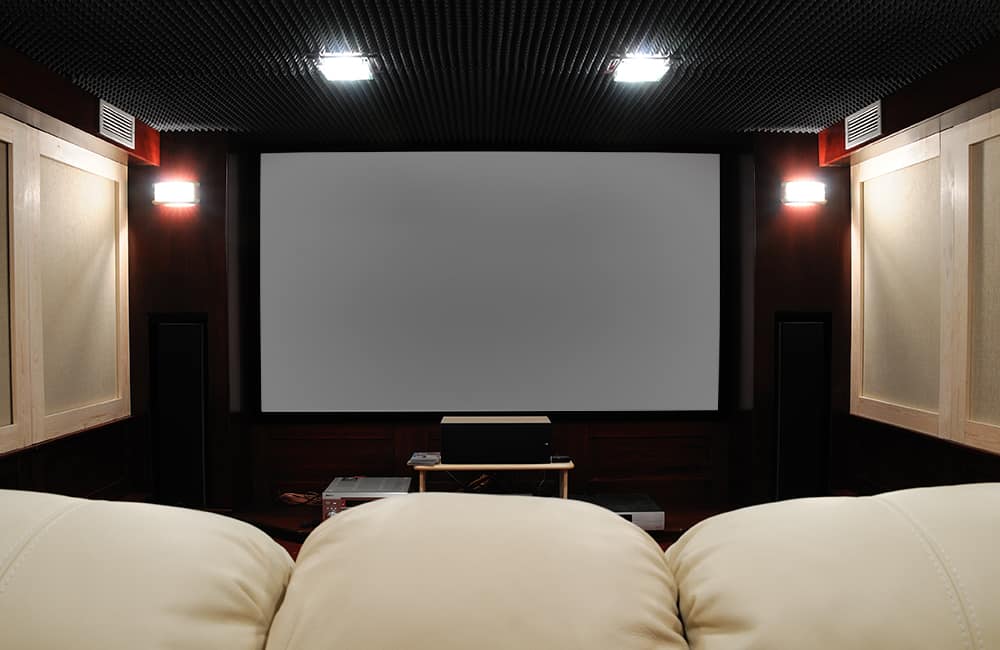
A black border around the screen gives it a more definitive, professional look. It will accentuate and enhance all the deepest colors.
A dark wood molding provides a classic finishing touch, although black paint or black velvet protection screen tape look just as effective.
When purchasing projector surface paint, you might notice a ratio on the side of the can. It depicts the gain value of the paint and is a measurement of its reflectivity.
It represents the brightness of an image reflected off a screen.
For example:
Projector screen paints with a gain of 1.5 projects the light back at the viewer 1.5 times brighter than the light was projected at the screen.
Therefore, a projector with 2000 lumens is perceived as 3000 lumens.
Paint with a gain of 0.8, from the same 2000 lumens projector is viewed by the audience at 80% of its original brightness; 1600 lumens.
The highest gain ratios might sound the best, as they increase brightness, but it isn't necessarily the case. They often struggle with accurate color reproduction.
Lower gain screen paint works well in conjunction with high lumen projectors.
Digital projector paint for walls is an inexpensive way of creating a screen anywhere. It is compatible with interactive, HD, and standard projectors and is capable of excellent high-definition, 4K images.
With a simple application and no screen size restriction, it is easy to see why projector surface paint is rivaling the traditional projector screen.